To Install Extension please follow the steps:
- Extract the module zip file.
- Now upload it in app/code/ directory of installed Magento setup. If code folder is not in app directory then first create it then upload extension.
- Once the Extension uploaded path will be: app/code/EncoreSky/CustomOptionImage
- Login into SSH and go to the root directory of installed Magento 2.x setup.
- Run following commands from magento root directory
- php bin/magento setup:upgrade
- php bin/magento setup:static-content:deploy
- php bin/magento cache:clean
- php bin/magento cache:flush
General Settings
- 1. Log in to your admin panel.
- 2. Store >> Configuration >> EncoreSky tab.
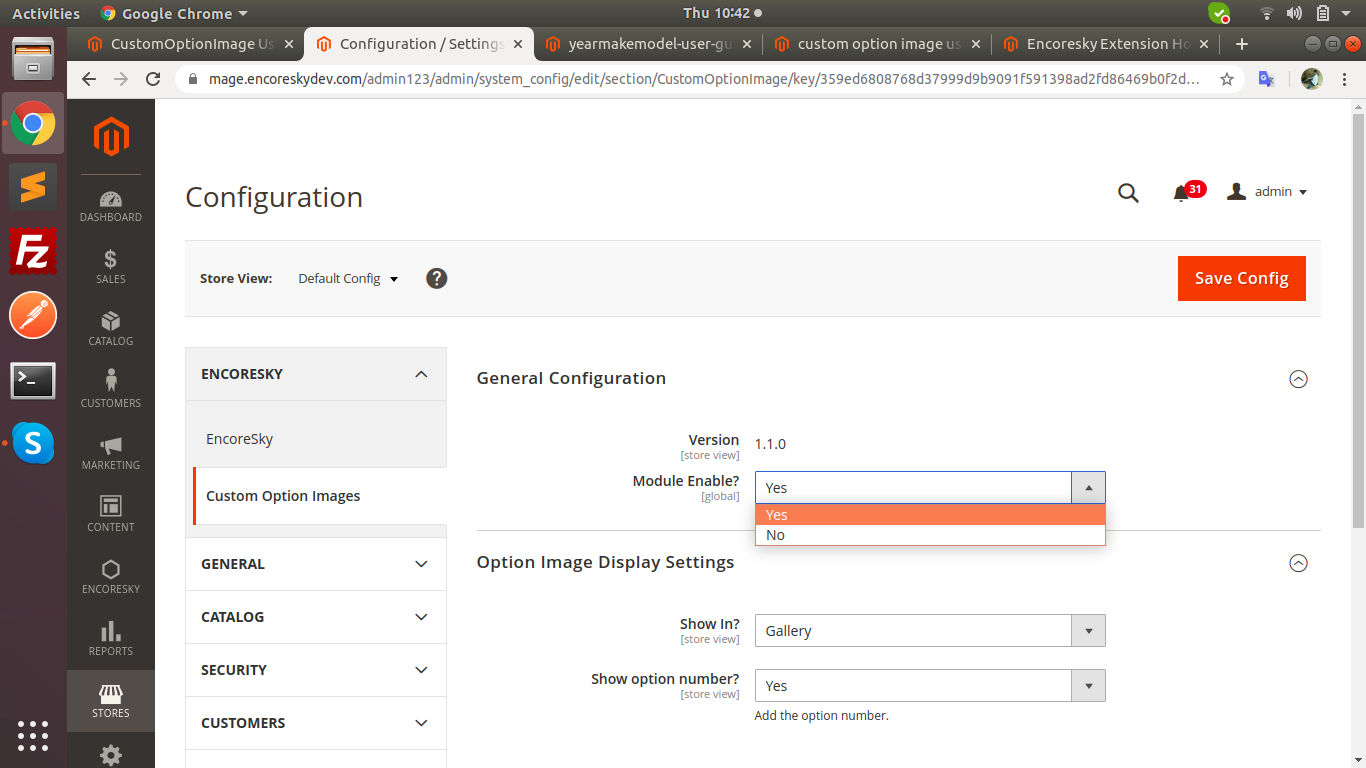
- 3. In EncoreSky section choose general configuration and select "module enable" field to yes/no to enable/disable module. (by default it is enabled).
- 4. Now click to "Save config" button to save configuration.
- 5. Go to system >> Cache Management and click to "flush cache" then refresh the frontend specific product page
Add Product Custom Option Images
To upload custom Option Images please follow the steps:
- 1. Log in to your admin panel.
- 2. Then go to Catalog >> Products.
- 3. Click to add/edit product button and wait until the response window will be appear.
- 4. Now click to expand Customizable Options tab .
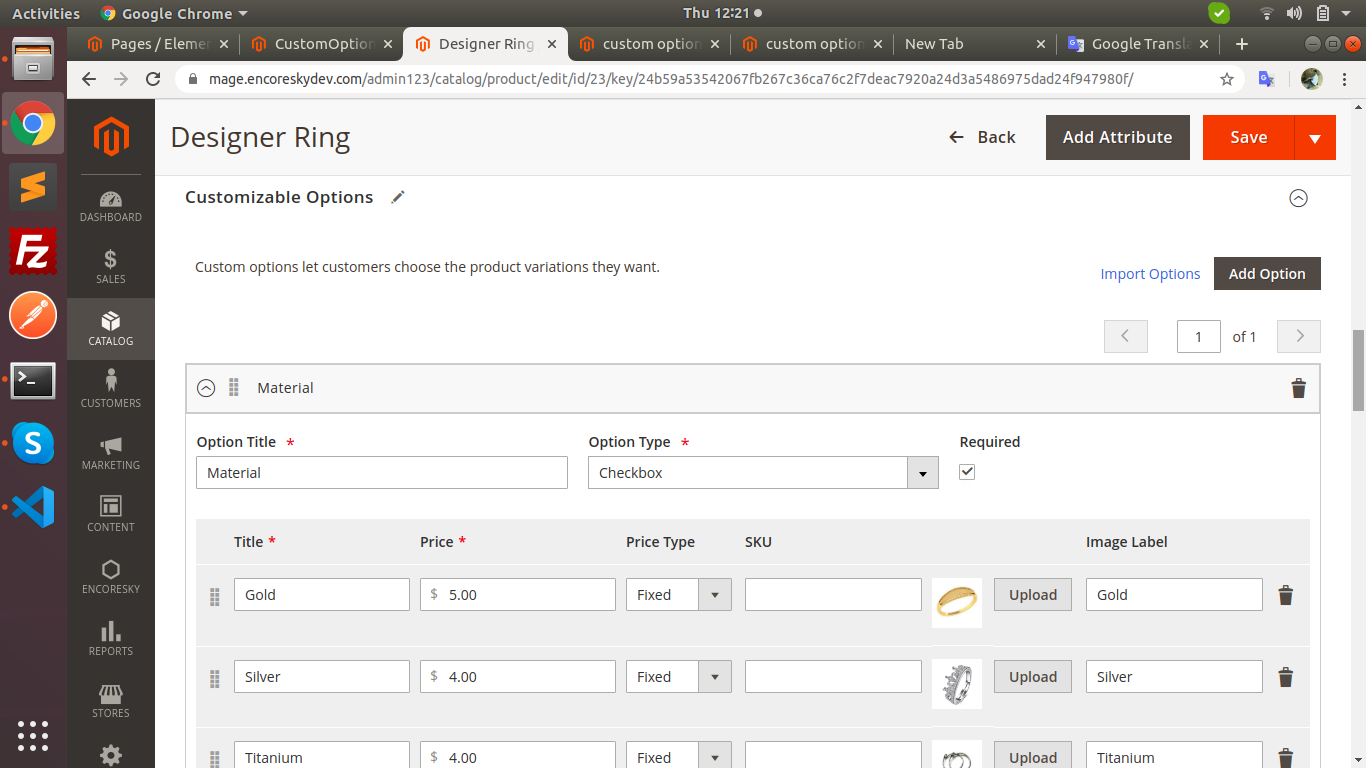
- 5.Then click to add option button.
- 6. Now need to give option title and select any one option type from drop-down, radio buttons, checkbox, multiple select.
- 7. Now set title, price and other option values.
- 8. Then click to upload button to add option images and give an image label to each option images.
- 9. Finally click to save the product options.
Customize The View Of Custom Option Images
To customize the view of custom option images use below steps:
- 1. Log in to your admin panel.
- 2. Then go to Stores >> Configuration and click on EncoreSky tab .
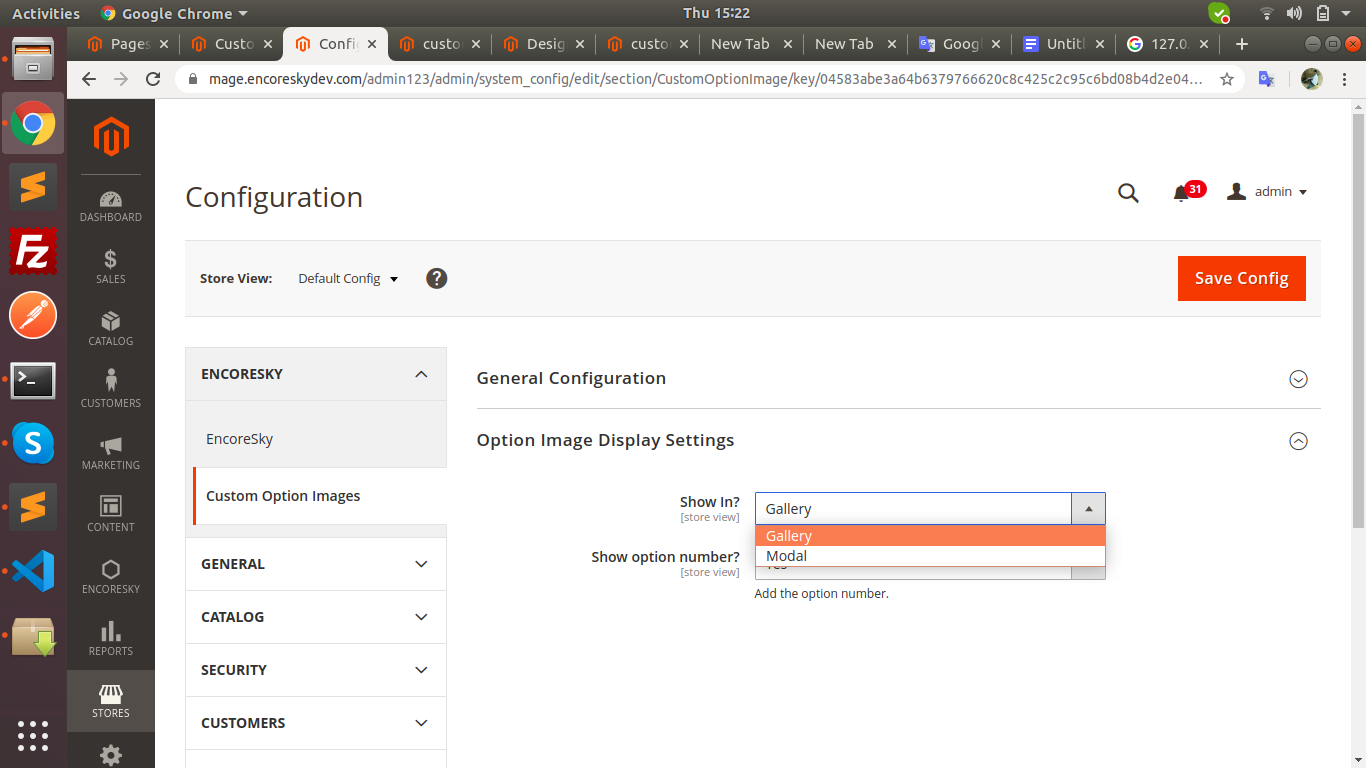
- 3. Now click to option image display setting tab and select gallery from show in drop-down options .
- 4. Now click to "Save config" button to save configuration.
- 5. Go to system >> Cache Management and click to "flush cache" then refresh the store front specific product page
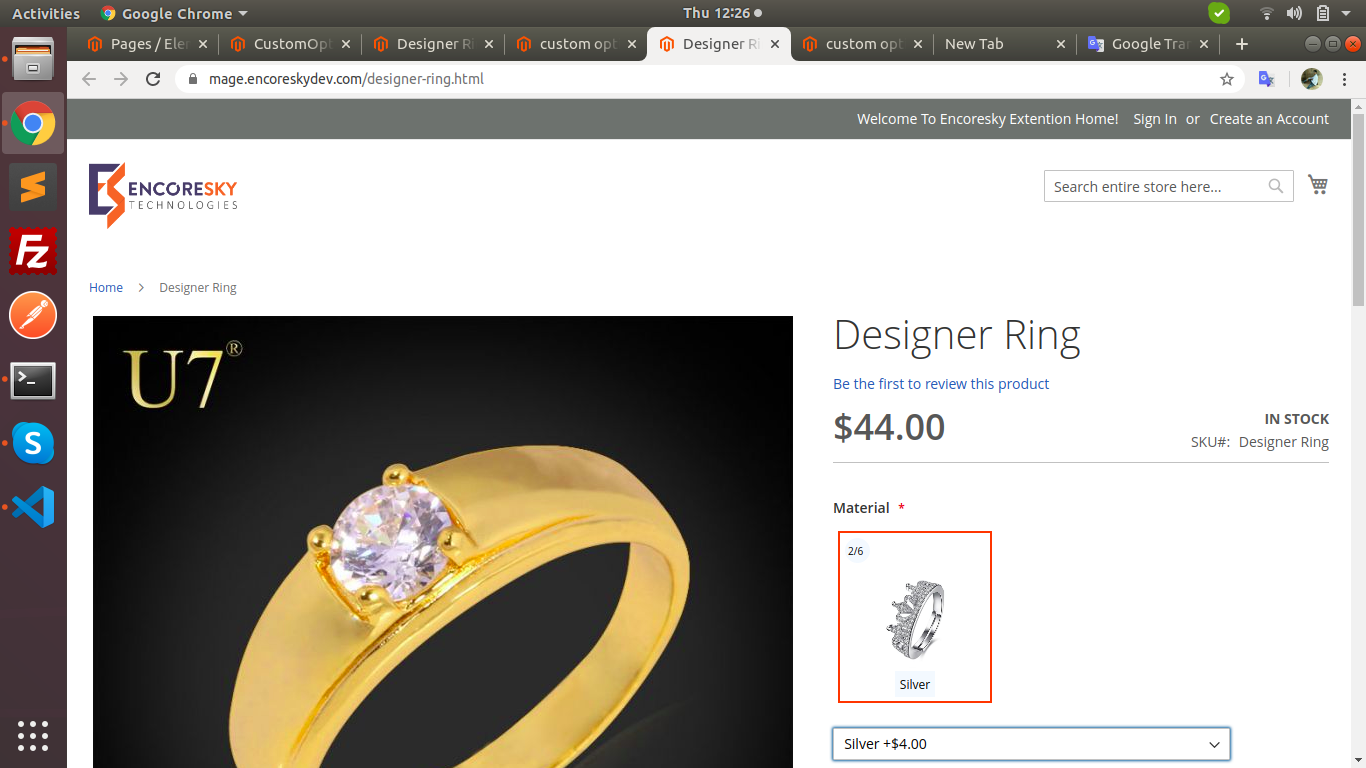
- 6. Now click to select any option value then the specific option image will be displayed automatically.
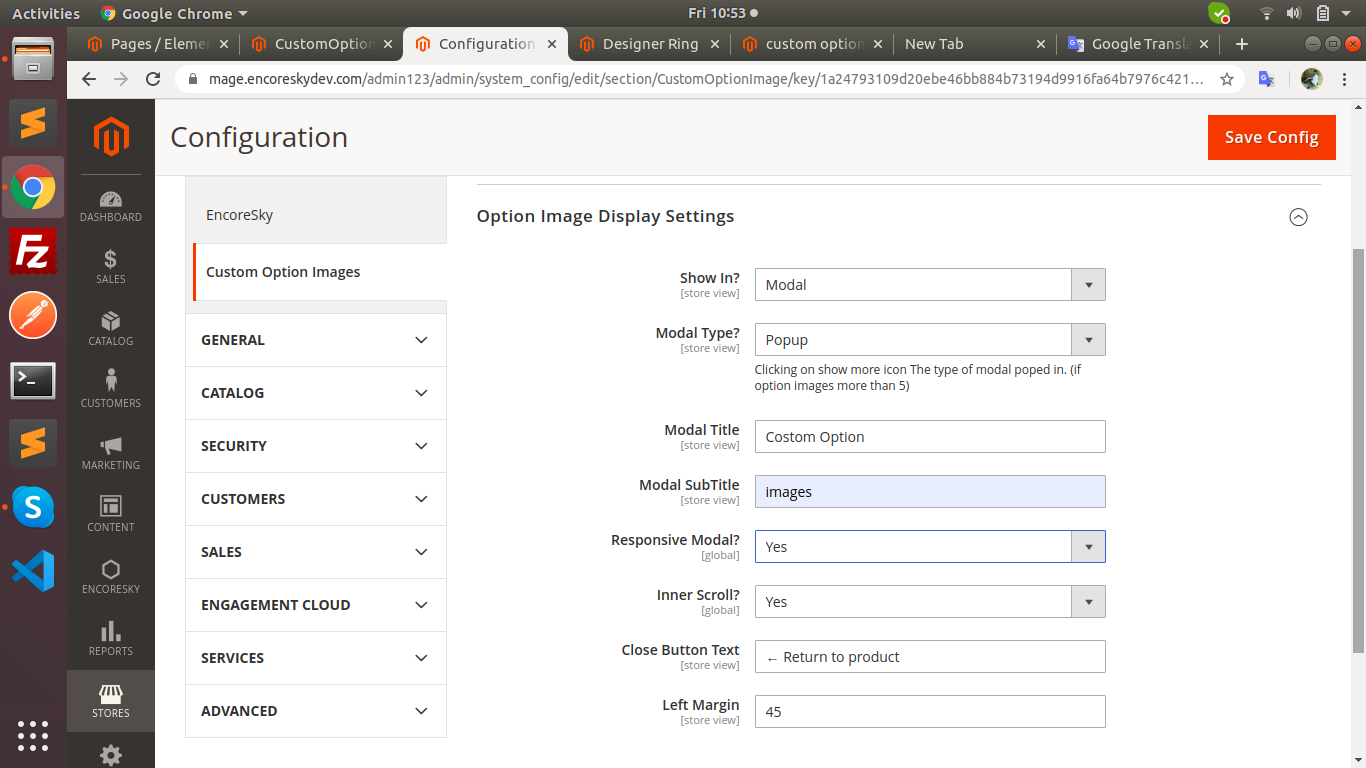
- 7. If you want to change the default option image display settings then select modal from show in drop-down options.
- 8. Now select modal type slide/popup and set other configuration values.
- 9. Finally click to "Save config" button to save configuration.
- 10. Go to system >> Cache Management and click to "flush cache" then refresh the store front specific product page
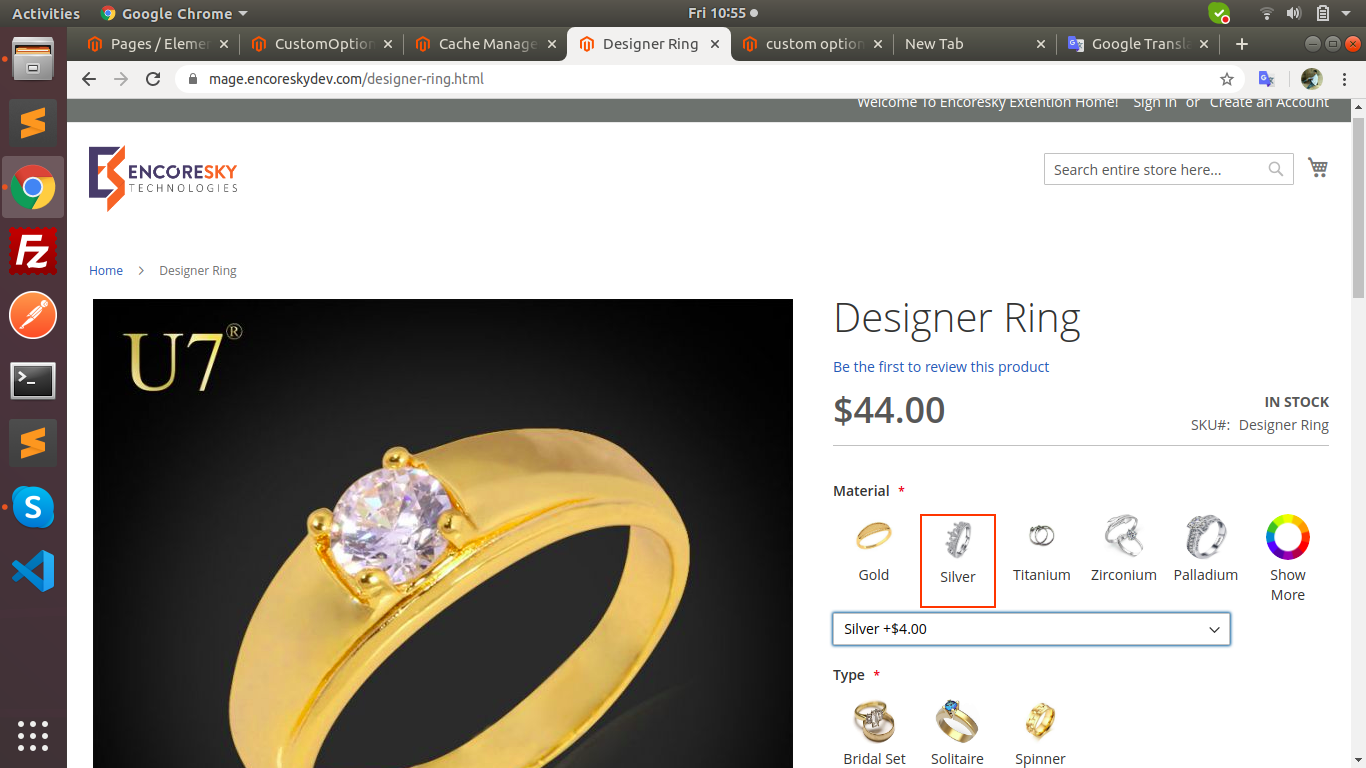
- 11. Now click to select any option value then the specific option image will be highlighted automatically.